
I thought it would be fun to connect a Raspberry Pi to an RC car to control it programmatically.
This project takes an off-the-shelf RC car and controls it with a Raspberry Pi 3 B+ and a Dualshock 4 wireless controller via Bluetooth.
The finished project has excellent performance (better than what I was expecting). It has a much better feel than the standard radio controls and, driving it around feels like a video game.
Functionality
The program is written in Python using Motor and PWMLED from gpiozero and Joystick from pygame.
When the Raspberry Pi boots up, the program runs and looks for a connected gamepad. When no gamepad is detected, it will wait 10 seconds using the function sleep() from time, and a purple light will pulse, indicating it is ready to connect. The function call() from subprocess runs another instance of the program in a Linux terminal before using the function exit() to end the current program instance. This process will repeat until a gamepad is connected. Once a connection is made, the program will continue and show a solid green light, indicating it is ready to drive.
gamepad_car.py
import pygame
import subprocess
from time import sleep

pygame.init()

gamepad = ''

try:
    while gamepad == '':
        # try to connect to a gamepad, otherwise
        # wait for a gamepad to connect then try again
        try:
            # create a gamepad object
            gamepad = pygame.joystick.Joystick(0)
            # initialize the gamepad
            gamepad.init()
            print("car started")
            print("press ctrl + c to exit")
            green.value = 0.5
        except:
            print('Please connect a gamepad. Restart in 10 seconds.')
            print("press ctrl + c to exit")
            blue.pulse()
            red.pulse()
            sleep(10)
            # restart the program
            subprocess.call(
                ["lxterminal", "--command=python3 gamepad_car.py"])
            exit()
except KeyboardInterrupt:
    print("ending program")
    pygame.quit()
    exit()
The car drives forward or backward by pressing R2 or L2, respectively. Moving the left analog stick steers the car left and right. Pressing R1 while pressing R2 provides handbrake action. The car's speed is adjusted slightly by tapping the Cross (X) button for slower or the Square button to go faster (default is high speed). The indicator light displays as green for high speed, transitioning to red for slow speed. The Raspberry Pi shuts down by pressing Triangle and the PS button together. The shutdown works by using subprocess.call() to run the shutdown command, sudo shutdown -h now in a Linux terminal.
gamepad_car.py
# default car speed (five increments: 0.6 - 1.0)
speed = 1.0

try:
    # event loop
    while True:
        events = pygame.event.get()
        for event in events:
            if gamepad.get_axis(0) < 0:
                print(gamepad.get_axis(0))
                # steer left
                steering.forward()
            elif gamepad.get_axis(0) > 0:
                print(gamepad.get_axis(0))
                # steer right
                steering.backward()
            elif gamepad.get_axis(0) == 0:
                steering.stop()

            if event.type == pygame.JOYBUTTONDOWN:
                if gamepad.get_button(0):
                    # decrease speed increment
                    if speed >= 0.70:
                        speed -= 0.10
                    print("Cross (X) Pressed")
                    print(speed)
                elif gamepad.get_button(2):
                    print("Triangle Pressed")
                    # triangle and PS button together
                    if gamepad.get_button(10):
                        print('Triangle and PS Button Pressed')
                        # shutdown Raspberry Pi
                        subprocess.call(
                            ["lxterminal", "--command=sudo shutdown -h now"])
                elif gamepad.get_button(3):
                    # increase speed increment
                    if speed <= 0.90:
                        speed += 0.10
                    print("Square Pressed")
                    print(speed)
                elif gamepad.get_button(5):
                    print("R1 Pressed")
                    drive.backward()
                elif gamepad.get_button(6):
                    print("L2 Pressed")
                    # drive backward with inputed speed
                    drive.backward(speed)
                elif gamepad.get_button(7):
                    print("R2 Pressed")
                    # drive forward with inputed speed
                    drive.forward(speed)
                    # handbreak action
                    if gamepad.get_button(5):
                        print("R1 Pressed")
                        drive.backward()

                # indicator light color for speed increment
                if speed == 1.0:
                    green.value = 0.10
                    red.value = 0.0
                elif speed >= 0.9:
                    green.value = 0.07
                    red.value = 0.03
                elif speed >= 0.8:
                    green.value = 0.04
                    red.value = 0.06
                elif speed >= 0.7:
                    green.value = 0.02
                    red.value = 0.08
                elif speed >= 0.6:
                    green.value = 0.0
                    red.value = 0.10

            elif event.type == pygame.JOYBUTTONUP:
                print("Button Released")
                drive.stop()

except KeyboardInterrupt:
    print("ending program")
    green.value = 0
    red.value = 0
    blue.value = 0
    gamepad.quit()
    pygame.quit()
Gamepad button assignment:
- R2 - Forward
- L2 - Backward/Break
- R2 + R1 - Backward/Break
- Cross (X) Button - Reduce Speed Increment
- Square Button - Increase Speed Increment
- Triangle + PS Button - Shutdown
Hardware Interface
The biggest challenge with this project was figuring out how to connect the RC car with the Raspberry Pi since my knowledge of electronic components is limited.
The L293d dual h-bridge stepper motor driver provides the interface between the Raspberry Pi and the RC car. The h-bridge completes the circuit between the car's power and each contact of the car's four actions (forward, backward, left, and right). Because it's a dual h-bridge, one side controls forward and backward while the other side controls left and right. Gpiozero has API documentation for Motor and a basic motor recipe.

I prototyped the h-bridge circuit on a small breadboard before soldering together a more permanent module.
The module's input wires are breadboard jumper wires for connecting to the Raspberry Pi's GPIO pins. The power, ground, and four output wires are soldered directly to the RC car's circuit board.

I used an ohmmeter on the circuit board to find which contacts give an electrical signal when the car's radio controls activate forward, backward, left, and right. This solution reminds me of the "Pickle Rick" episode of Rick and Morty.
Indicator LED
The indicator light gives visual feedback about the program's status without having to connect to a monitor.
The indicator light module consists of four components: a small breadboard, an RGB LED, resistors, and breadboard jumper wires. The jumper wire ends taped together make a single connector that plugs into GPIO pins 10, 9, 11, and ground.
gamepad_car.py
from gpiozero import PWMLED

red = PWMLED(9)
green = PWMLED(10)
blue = PWMLED(11)
Power
The Raspberry Pi gets power from a high-capacity battery pack. The RC car remains powered by its battery pack.
Holding It Together
Everything is held in place by Velcro cable ties which are pretty sturdy when layered together.
Setting Up the Raspberry Pi
With the latest Raspberry Pi OS installed and booted up to the desktop, a Dualshock 4 is paired using the Manage Bluetooth Devices taskbar applet.
Holding the Share and PS buttons on the DS4 starts the pairing processes. In Manage Bluetooth Devices, click Add Device, select the Wireless Controller from the list of Bluetooth devices, and click Pair. Now, the gamepad should connect to the Raspberry Pi when pressing the PS button.
A copy of the file, gamepad_car.py found in the project's GitHub repository, goes in the /home/pi/ folder.
To get the program to start automatically when the Raspberry Pi boots up, a .desktop file is added to the user autostart folder.
Opening the File Manager and right-clicking in the /home/pi folder brings up a menu with the option Show Hidden. Selecting Show Hidden reveals a .config folder. Inside of .config, create a folder named autostart. Inside of autostart needs to be a file named StartCar.desktop that contains the lines:
StartCar.desktop
[Desktop Entry]
Type=Application
Name=StartCar
Exec=/usr/bin/python3 /home/pi/gamepad_car.py
In the Raspberry Pi Configuration, under the System tab, the options need to be set as:
- Boot: To Desktop
- Auto login: Login as user 'pi'
StartCar.desktop will now execute gamepad_car.py when the Raspberry Pi boots up to the desktop, logged in as the user pi.
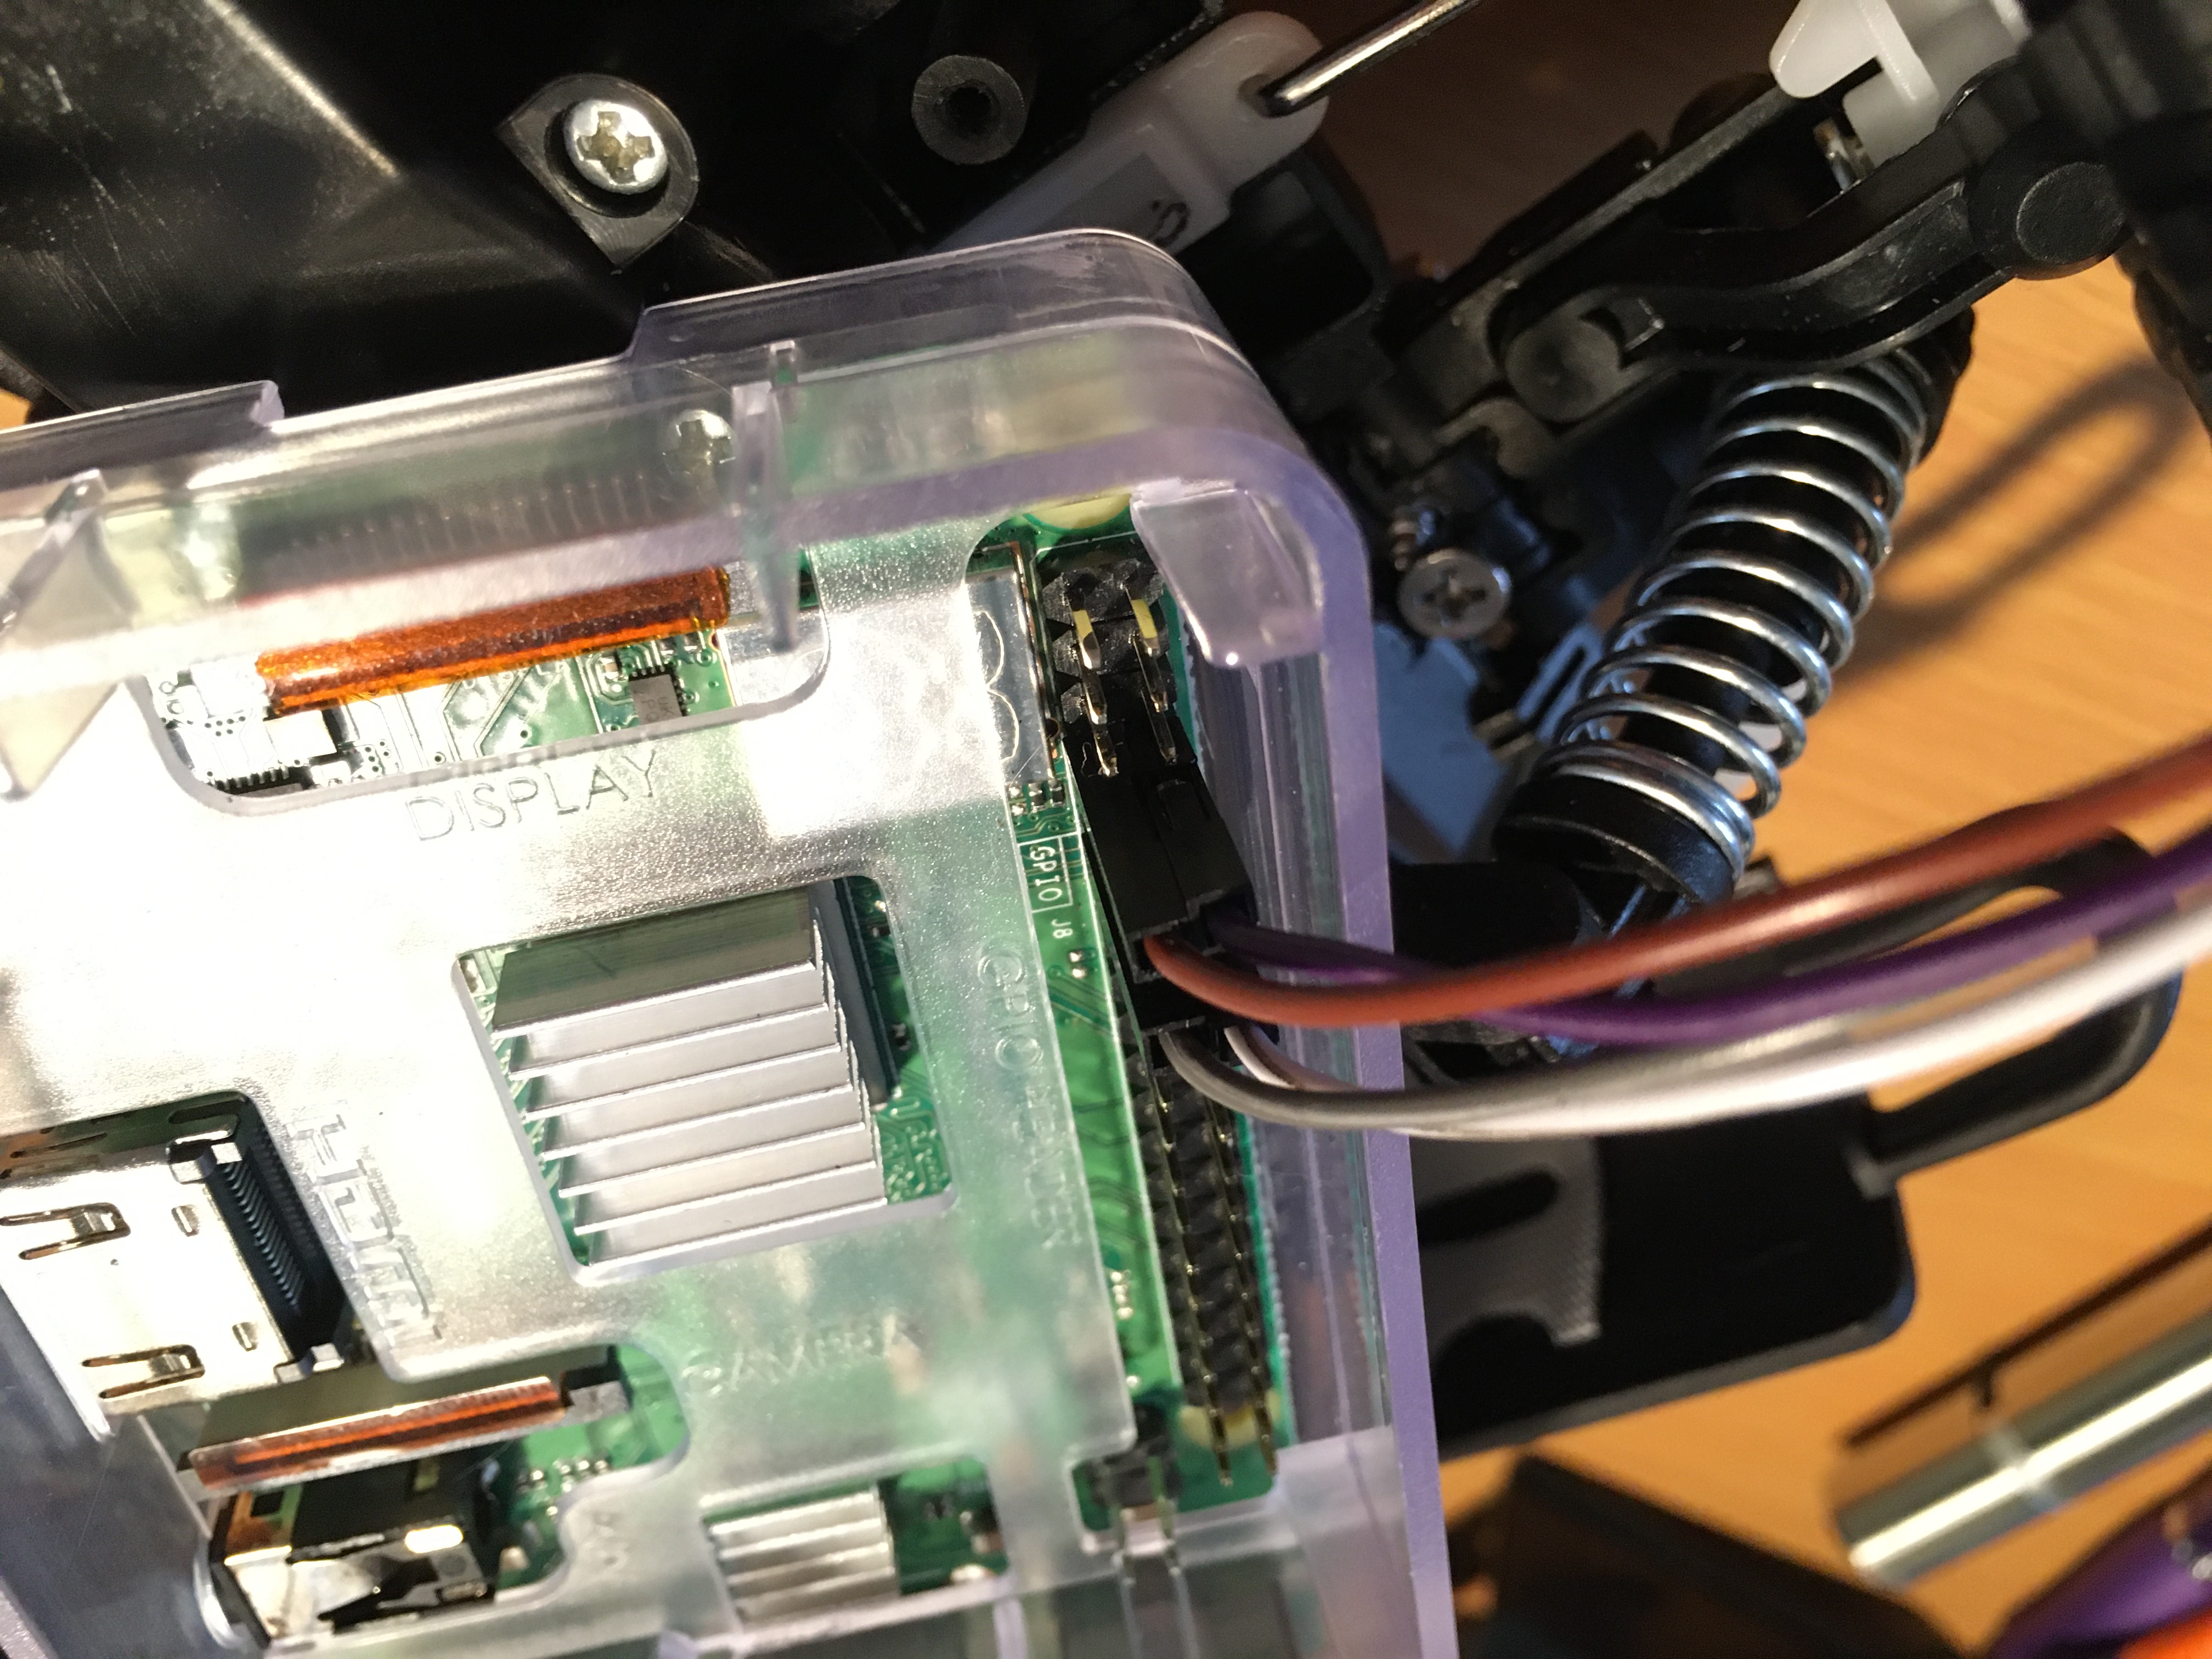
The GPIO connections, according to the program's configuration, are made with the Raspberry Pi powered down.
gamepad_car.py
from gpiozero import Motor

steering = Motor(forward=4, backward=14)  # left and right
drive = Motor(forward=17, backward=18)
Conclusion
Overall this project was fun to create. Along the way, I've become more familiar with the Linux operating system, using Linux commands, and a better understanding of Linux file structure.
Working out how to wire up the electronic components was challenging and rewarding.
Using Python to control GPIOs is fun and sparks my imagination with the possibilities of interacting with real-world things through programming.